How to upgrade an on premises Team Foundation Server to version 2015 update 2.1
Recently I had the task of upgrading our on premises TFS solution from TFS 2013 Update 5 to TFS 2015 Update 2.1. This article discusses the upgrade steps, how long the process took, as well as some of the pitfalls with the ISO install. Also note that version 2.1 was quickly released to resolve some of the major bugs that were found with release 2.. see below from Microsoft:
Team Foundation Server 2015 Update 2.1 has had some bug fixes since Update 2.0. Please refer to KB3160281 for the list of fixes. If needed, for configurations such as multiple application tiers that require matched versions, you can still download Team Foundation Server 2015 Update 2.0.
So what is new in TFS 2015 Update 2.1?
OK, before we get started, what is new in the latest version of TFS? Here is the official release note https://www.visualstudio.com/news/tfs2015-update2-vs which lists the new features as:
- Team project creation and deletion experience improvements
- Release Management: new features and improvements
- Test results available in the Release summary
- Reordering cards on boards
- Deleting work items
- Global shortcut keys
- Dashboards edit mode
- Auto-refresh dashboards
- Build widgets in the dashboard catalog
- Work item query charts in the dashboard catalog
- @mentions and #ID
- Pull request widget
- Markdown widget lets you choose an existing file in a code repository to display
- Common identity picker
- Gated check-in for Team Foundation Version Control
- Version control web
- Team Foundation Server extensions
- Keyboard shortcuts for Kanban board
- Improved linking between code and work items
- Build-related features and improvements
- Testing: new features and improvements
- Test in Java
OK, lets get started..the main application
The following steps list how to upgrade TFS to version 2015 Update 2.1. This process took around 3 hours in total for me (the screenshots provided below are from an installation on a development machine):
1. Acquire the 2.1 upgrade download from https://www.visualstudio.com/downloads/download-visual-studio-vs
2. Run the ISO after mounting it (Virtual Clone Drive is my favourite ISO mounting tool) and you will see the following page:
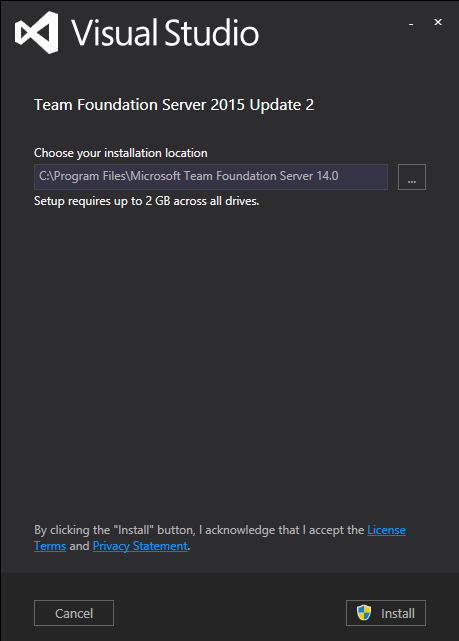
3. Choose the file path e.g. C:\Program Files\Microsoft Team Foundation Server 14.0 > Click ‘Install‘.
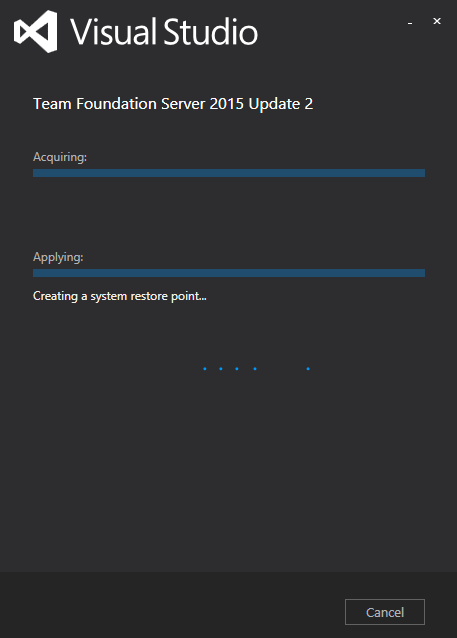
4. The installation will begin and you will see the following screen:
5. Once the initial install has completed you will see the traditional Wizard which Microsoft has kept consistent throughout the previous upgrades:
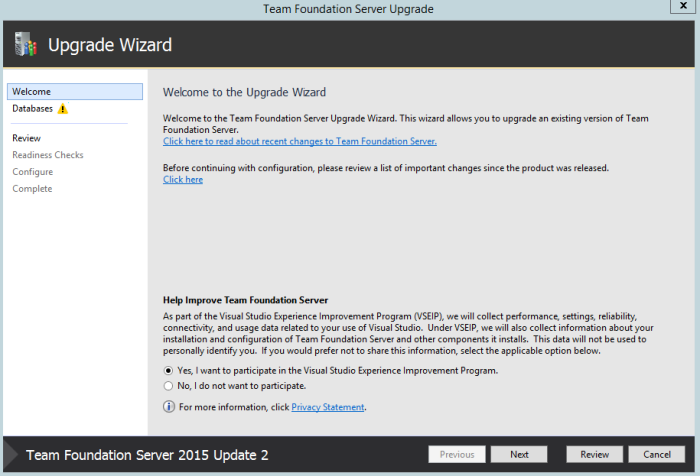
6. Click ‘No‘ if you don’t want to participate and click ‘Next‘.
7. Point at your current database instance:
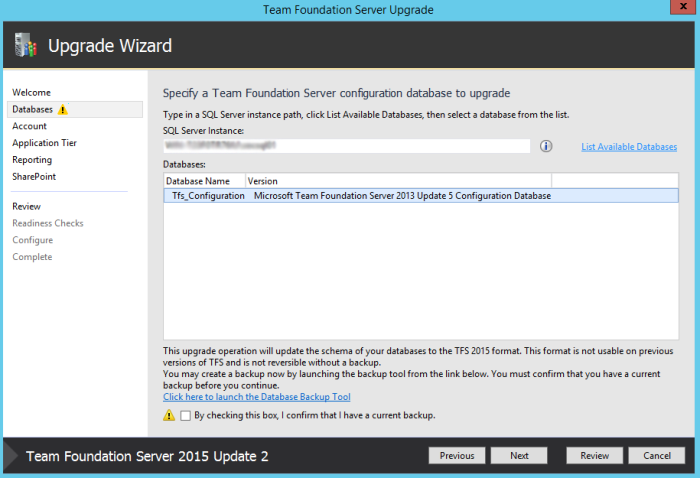
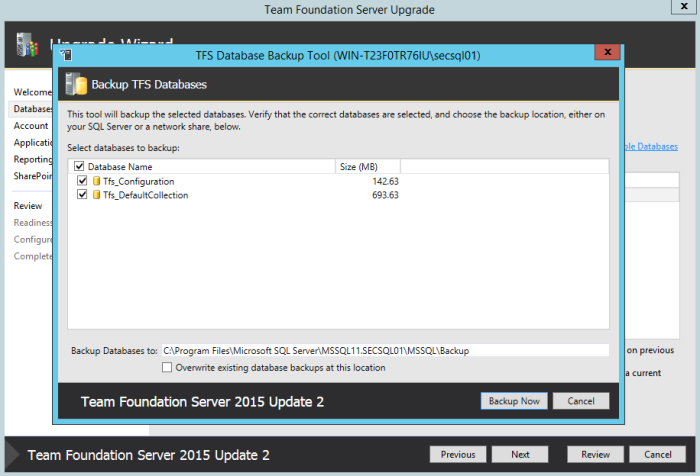
8. Now click on the ‘Click here to launch the Database backup tool’ link. This will allow you to backup all of your existing TFS related databases before the upgrade takes place. please don’t skip this step!
9. Select the databases which need to be backed up and choose a new path on the server (ensure there is enough space to house the backups!):
10. Click ‘Backup Now’ and once complete you should see the following screen (on our production server we also had the related SharePoint and Reporting databases):
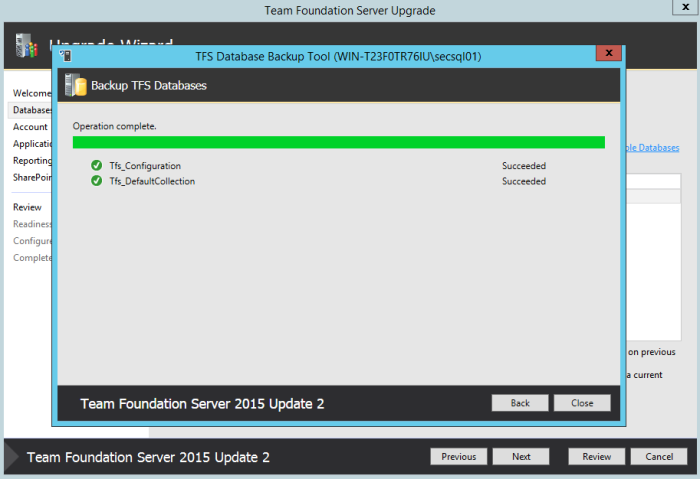
11. Click ‘Close‘.
12. Check the checkbox stating ‘By checking this box, I confirm that I have a current backup’. > Click ‘Next’.
13. On the next screen put in the correct service account details and click ‘Next’.
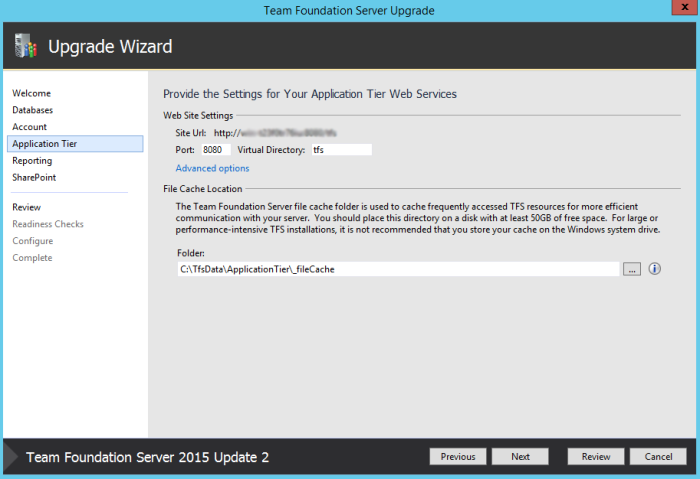
14. Provide the application tier web server details and ensure the file cache location is correct (I believe this should be at least 50GB free space):
15. Ensure the reporting services details are correct and click ‘Next’.
16. Ensure the SharePoint settings configuration is correct and click ‘Next’.
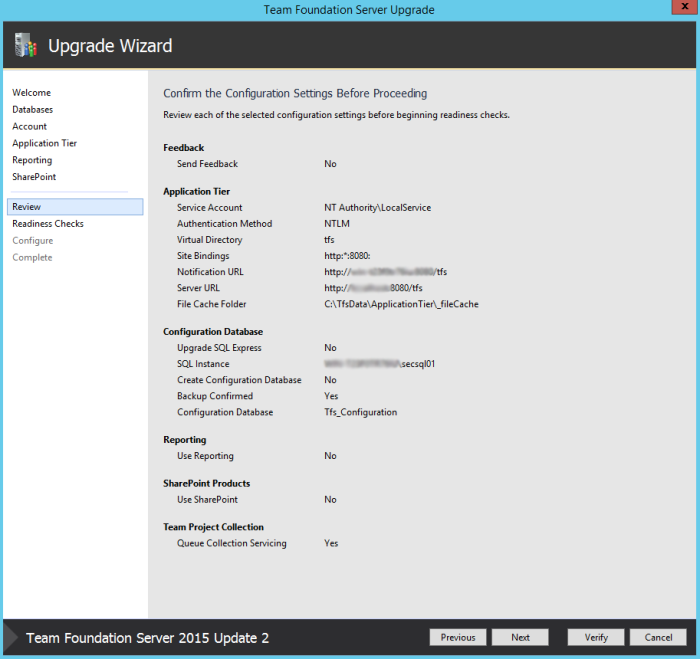
17. On the next screen confirm the configuration details are all correct (note that you would be using service accounts presumably rather than NT Authority\Local Service which I am using just for this demo):
18. The next screen will verify that all of the configuration details are correct:
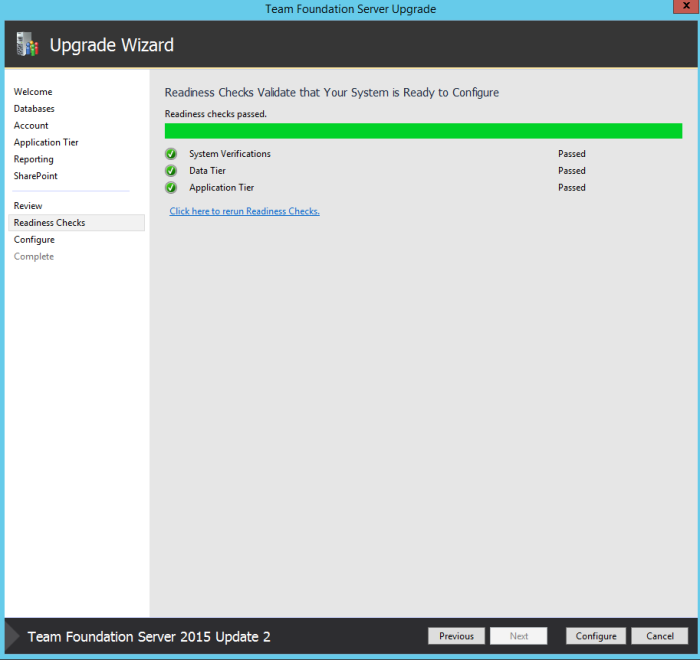
19. Click ‘Configure’ and you will see the following screen:
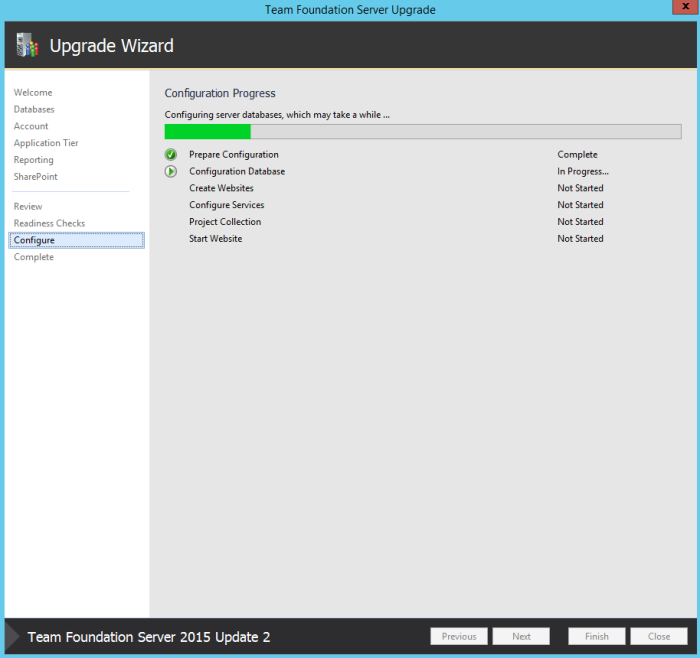
20. When the configuration is complete you should see the following screen:
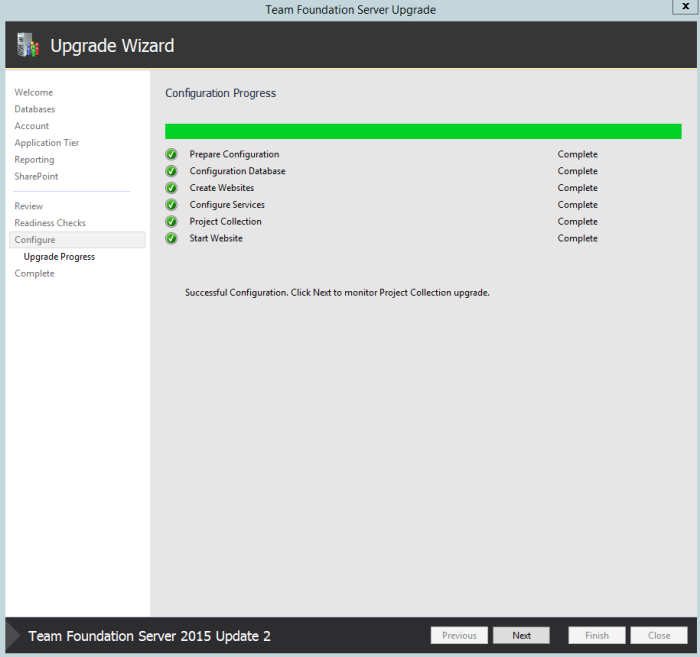
21. Click ‘Next’ and the upgrade process will start on the Team Collections:
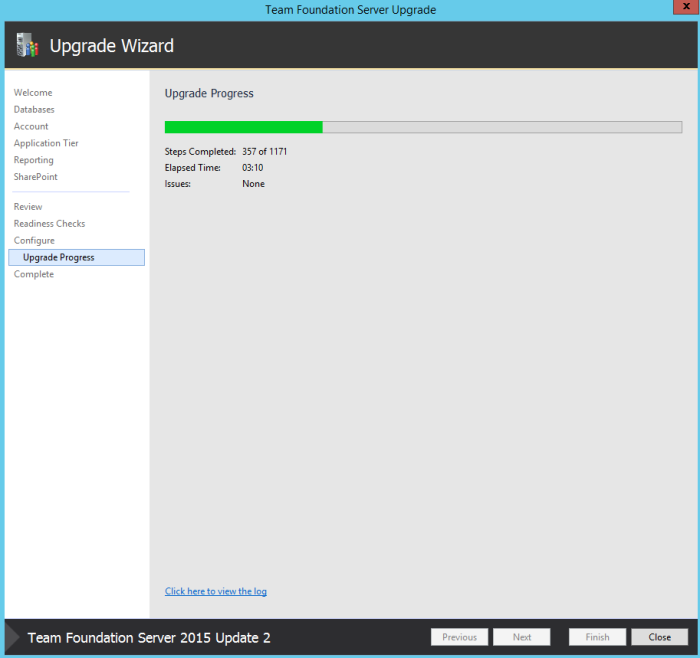
22. Once complete you should see the following screen:
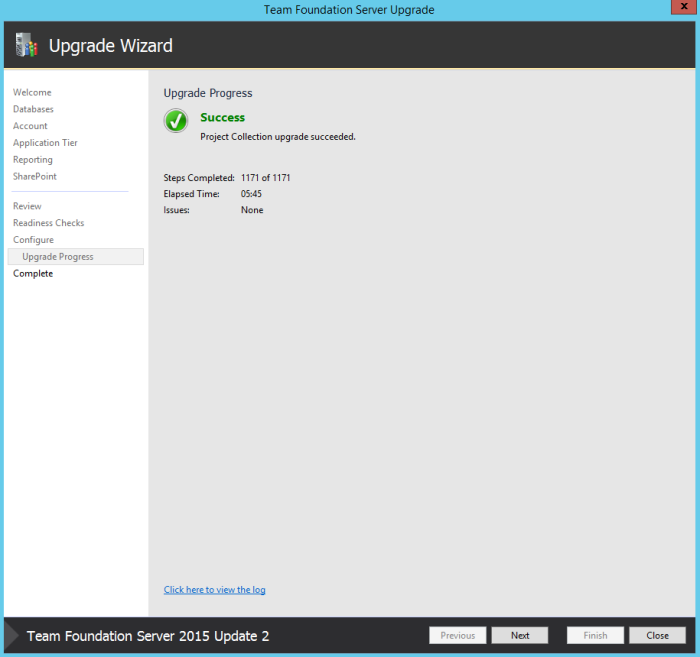
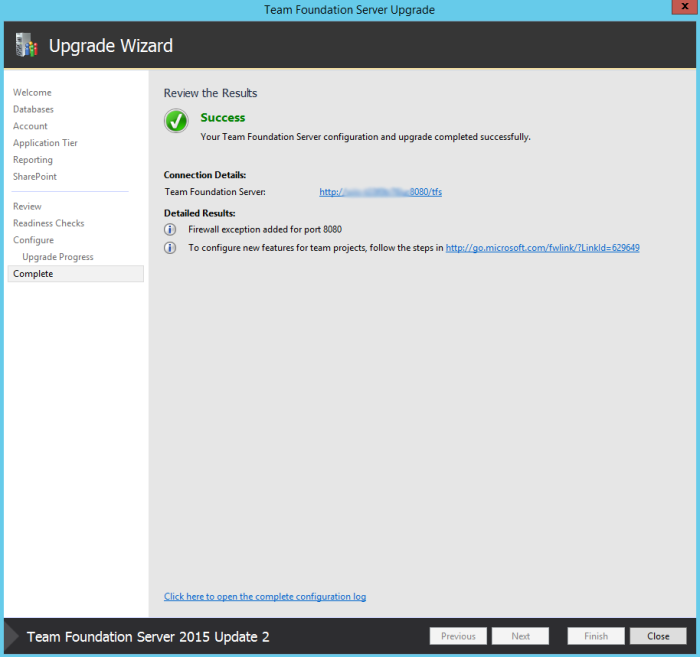
23. Click on ‘Next’ which will show you the final page including the link to your TFS main web page. Open the link and make sure it is working as normal, and that you can access sprint and code information successfully.
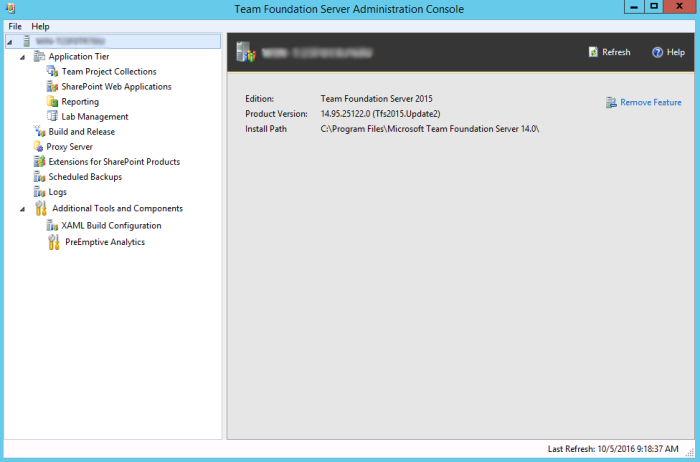
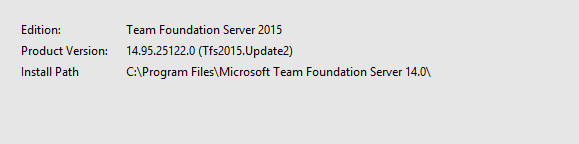
24. Log onto the application server and ensure that the version number is as follows:
Upgrading the build server
So that’s the TFS application tier upgraded; now for your build server(s). This process took around 2 hours for me on a non production server. On your build server run the following steps:
1. Mount the ISO as you had previously and run the same install.
2. The initial install will progress as it did with the application server before you are prompted with the traditional wizard as before.
3. Click on ‘Configure XAML Build Service’.
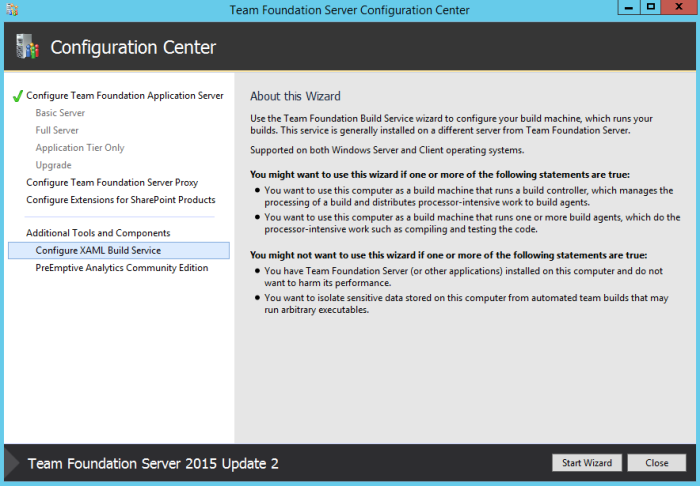
4. Click ‘Start Wizard’.
5. It will state that you have existing resources if you are performing an upgrade. Make your choice and click ‘Next‘.
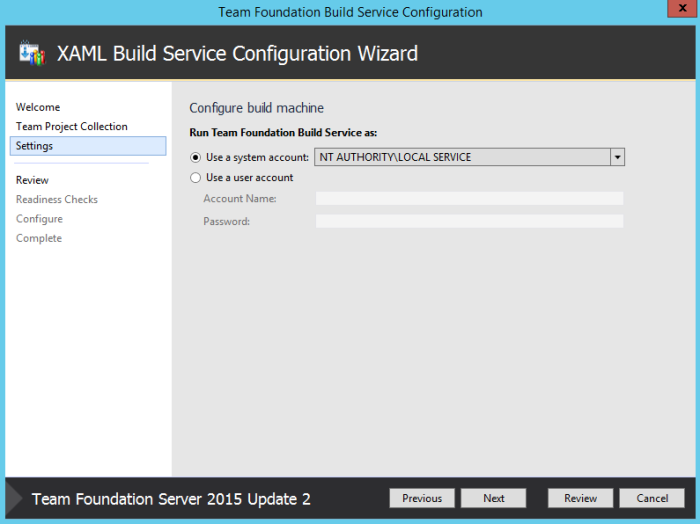
6. Add the build service account on the next screen (again you would use a service account. I am using NT Authority\Local Service for the demo only):
7. Click ‘Next’ on the Readiness Checks screen:
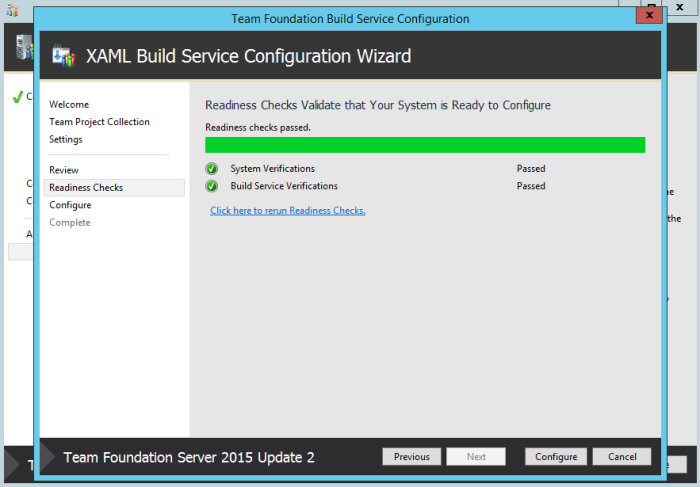
8. Click ‘Configure’ and if successful you should see the next screen:
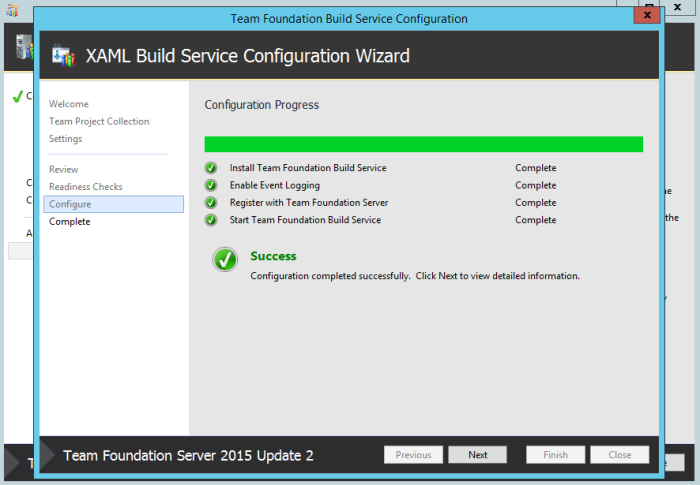
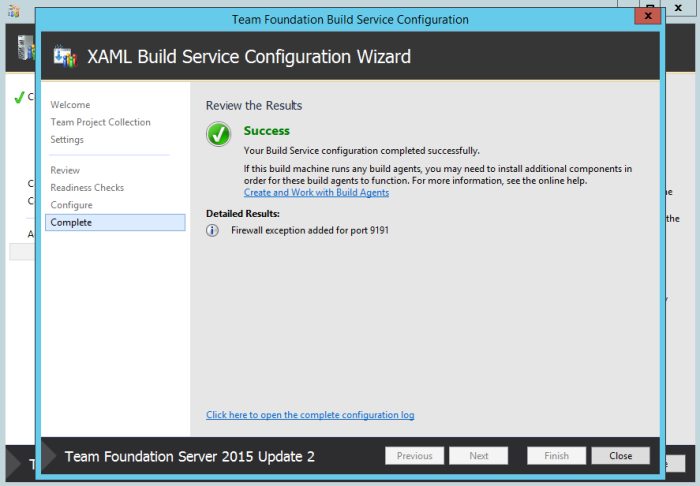
9. Click ‘Next’ and if successful you will see the Complete screen:
10. As a final check have a look in the TFS administration Console on the build server and check that the version number is correct:
That’s everything upgraded successfully!
Build controller changes
It is worth noting that with TFS 2015 Update 2.1 comes a major change to the way build controllers are created and managed through TFS/Visual Studio. Don’t worry though, you can still use your existing XAML build controllers..
See the following extract and link from the Microsoft TFS 2015 Update 2.1 page:
https://msdn.microsoft.com/en-us/library/vs/alm/build/agents/windows
Can I still configure and use XAML build controllers and agents?
Yes. If you are an existing customer with custom build processes you are not yet ready to migrate, you can continue to use XAML builds, controllers, and agents.
Here is a great link showing you how to create the latest build definitions: https://www.visualstudio.com/en-us/docs/build/get-started/dot-net
Pitfalls…
I didn’t come across any issues or pitfalls with the main upgrade due to careful planning but I would urge you to have a think about the following areas before you start:
1. Have you backed up your databases? And if not, I would urge you to back them up to a different machine to where your TFS application is installed.
2. Do you have enough space on the server(s) for the upgrade (you don’t want it dying half way through due to running out of disk space).
3. Have you checked the server requirements before you attempt the upgrade?
4. You will no doubt be installing Visual Studio 2015 on the build server to allow you to build the latest code/applications; so have you checked that you have enough space to house it along with the upgraded TFS?
5. Do you have a list of all your service accounts/passwords before you start the upgrade?
6. Have you made your team aware that TFS, Reporting Services and SharePoint will be unavailable (give yourself enough time to complete the upgrade. I would say at least 5 hours)
Wrapping up
I hope you found this article useful; and if so please add a comment – would be great to hear from you.
